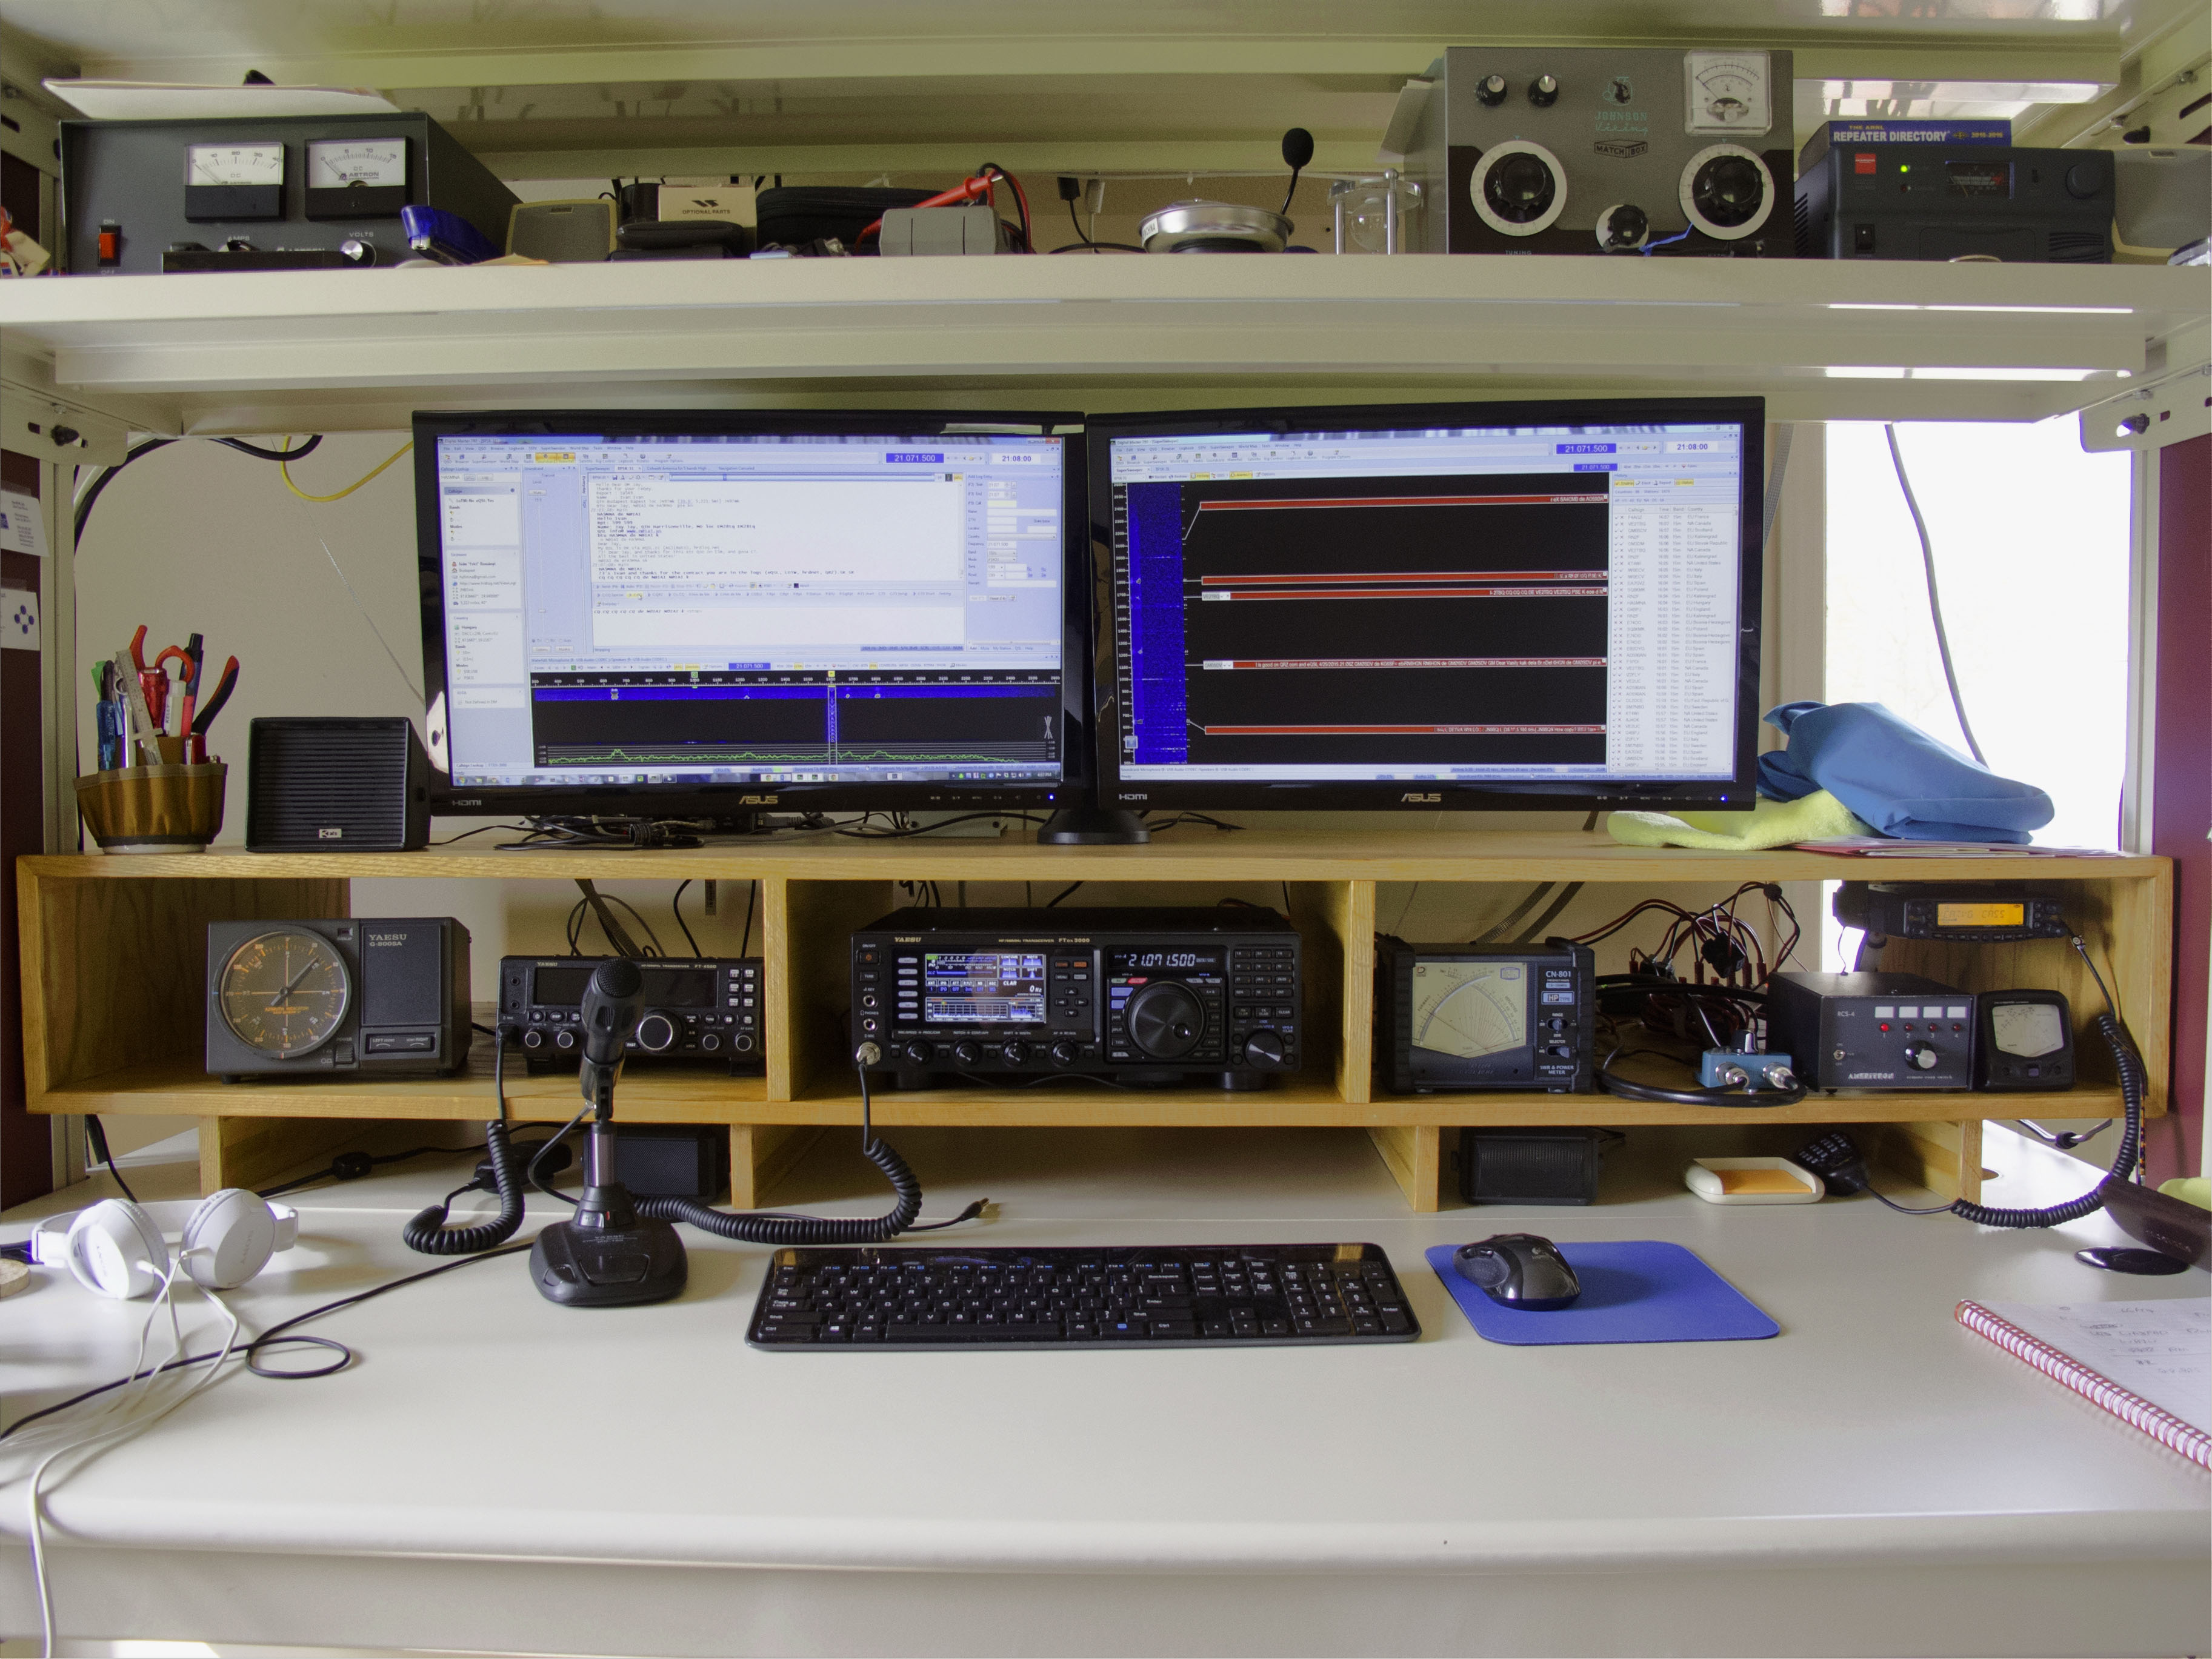
Was running out of room on the desk and after spending several hours perusing the “Ham Shack” images on Google, I settled on a simple box design which would.
- Allow the previously wasted space under the monitors to be utilized.
- Provide a space to stow the keyboard, mouse and notebook for times when I want to use the desk for other purposes.
- Get the radio and other key readouts more closely grouped to the monitors so as not to require turning of the head to view key operational metrics.
- Be within my limited wood working capabilities.
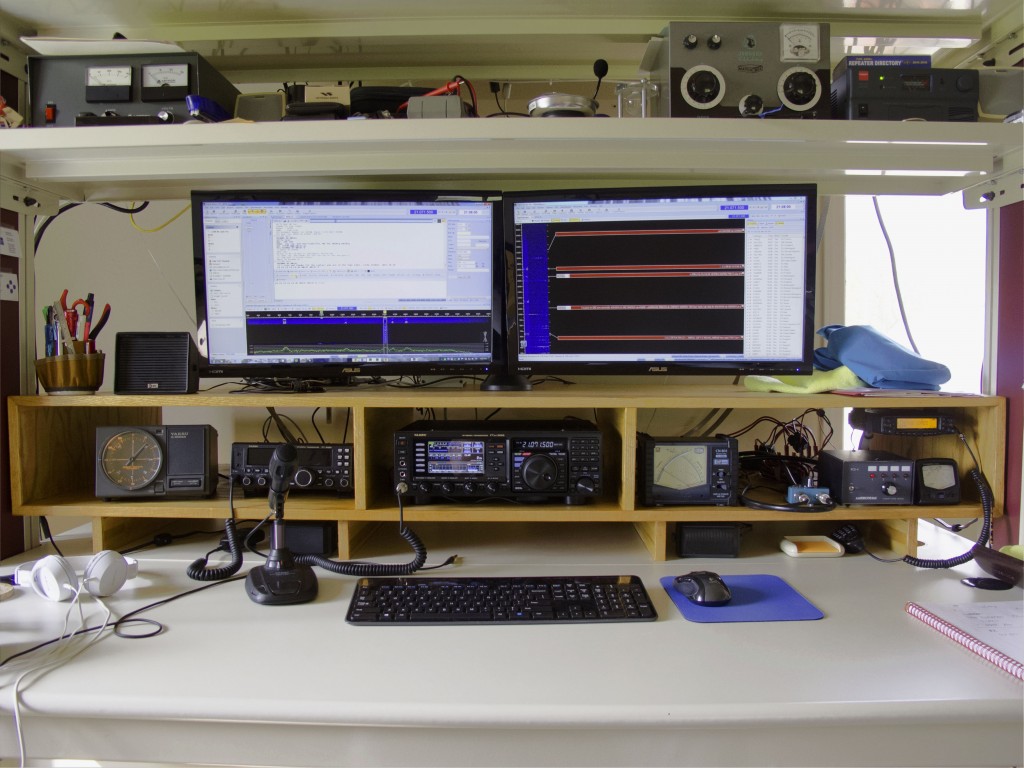
The body is made from oak veneer plywood which has been ripped into two 24 inch wide strips. From these two strips the top, bottom and dividers were cut. The legs are made from paint grade dimensional trim, and the front is covered in 3/4 oak trim.
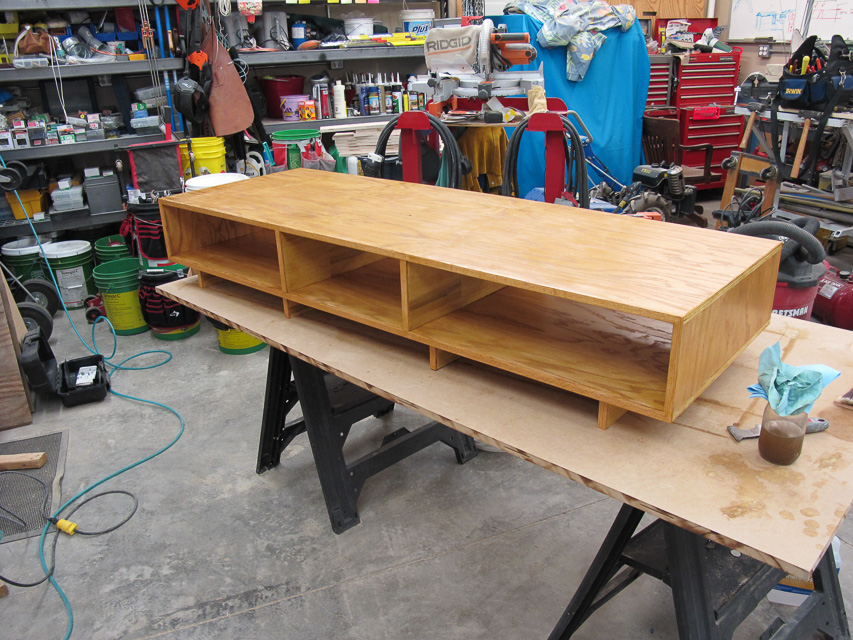
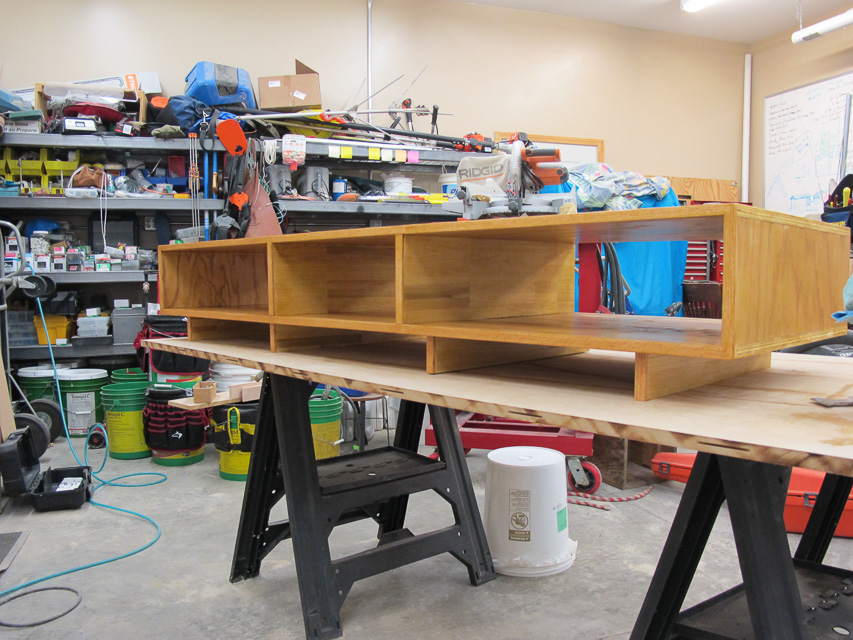
Several coats of a combination stain/poly product was used to provide an attractive and durable finish.
So far the riser has been a great addition to the ham shack.
73’s until next time, Jay

Love this so much that I commissioned one to be built with a couple modifications. First, it’s only 18″ deep instead of 24″. Second, I had the interior compartment cut into halves instead of thirds. Finally, I asked to have the interior divider be one inch shorter so the top shelf overhangs, and then a 1/2″ groove will be routed in the underside of the top shelf to hide a strip of LEDs for downcast lighting onto my equipment. Will let you know when it’s complete.
Cool I would love to see that once installed. I also thought about an LED strip under the top, and have since put an LED fixture on the underside of the shelf above and it does a great job. The less depth is a good move as it can be a challenge at times seeing and getting your hands to the back of radios with the current depth. My current challenge is an effective mount for antenna switches, and a winter project I have decided is an open ended rectangular box with two slots on the front thru which I can run cables with right angle connectors into switches.
My desk riser is finished, except for the undershelf lighting. While experimenting with those LEDs, I found that they use PWM for dimming and that was generating a lot of RF interference. I’ll look at other options.
http://imgur.com/a/ieuul
Looks nice, too bad about the lighting I wonder if choke on the leads would address the RF noise.
73, Jay
I don’t think so because the LED strip is acting as an antenna for the PWM signal being sent through it for light control. The only solution I can think of is to use a single color analog strip (white, obviously) and just use some kind of pot to trim the power supply.
Wanted to come back and show the finished lighting on my version. I added some photos to the album listed above. I think it worked great. Cheap Walmart LED strips (in the automotive section) worked perfectly.
http://imgur.com/a/yqkhJ
Looks good.
How are the sections joined? Glue, screws, dowels….?
Not enough detail in the photos to see any joinery techniques.
Jim,
I used biscuits everywhere and in the few places such as the legs which I could not effectively clamp, in conjunction with a trim screw.
73, Jay
What are you using for a desk? What about the very top shelve with the power supply’s?
Doug,
It is a Kewaunee Scientific workstation I picked up surplus.
Love the Riser…Did you post the plans for it? How wide is it ?
Thanks for sharing the idea.
No plans, direct measurements and back of napkin plan. The width is 69 1/2 which is the limits of the desk it is on.
Shelf strength good for heavy linear collins 30L1?
Is the back totally open?
How does it attach to the desk?
How are the monitor screens secured? Adjustable?
Jon,
Weight is not a problem in my experience if build with plywood.
Yes open, if I were to build again I would not make it so deep.
Gravity 😉
A multimonitor mount from amazon is attached to the riser with a through bolt. Standard vesa monitors connect to the mount.
73, Jay