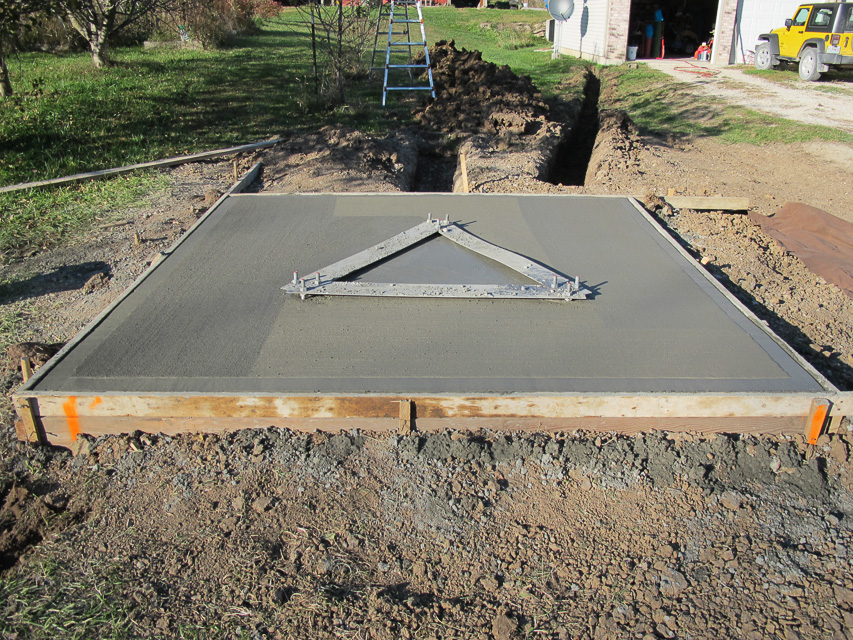
With winter just around the corner, working hard to get the foundation completed soon, as it will need to cure for 3 weeks before standing the tower up on it.
Prepping the site
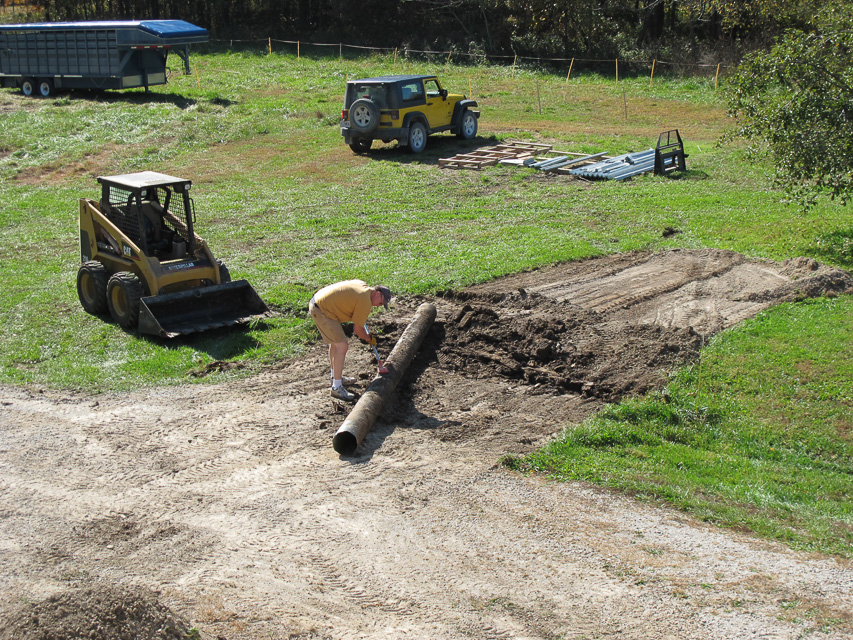
Decided to re-purpose a turn-around on the second driveway and place the tower in this location. This site offered the fewest sight lines from our house and the neighbors. First job was to remove the gravel base and pull out the culvert pipe for reuse elsewhere.



Tower base prep
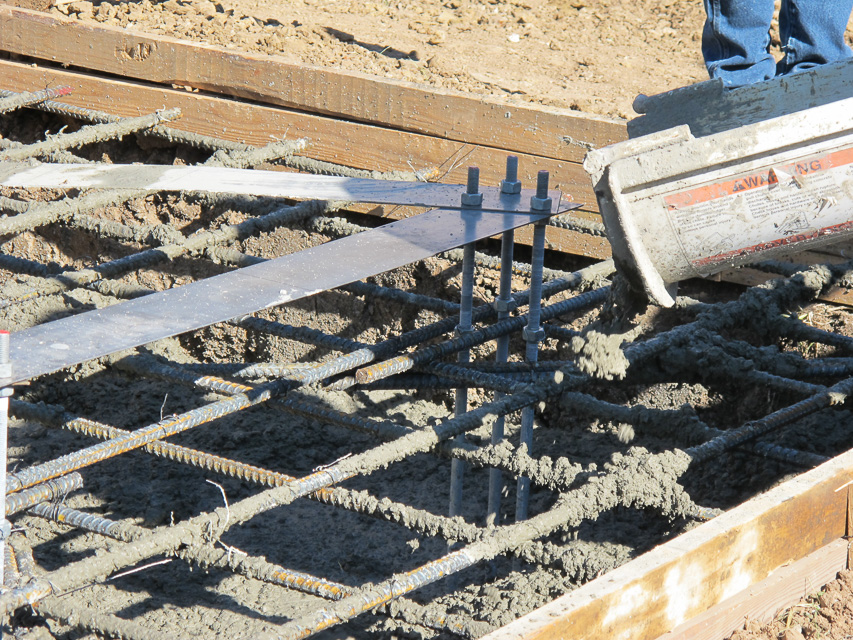
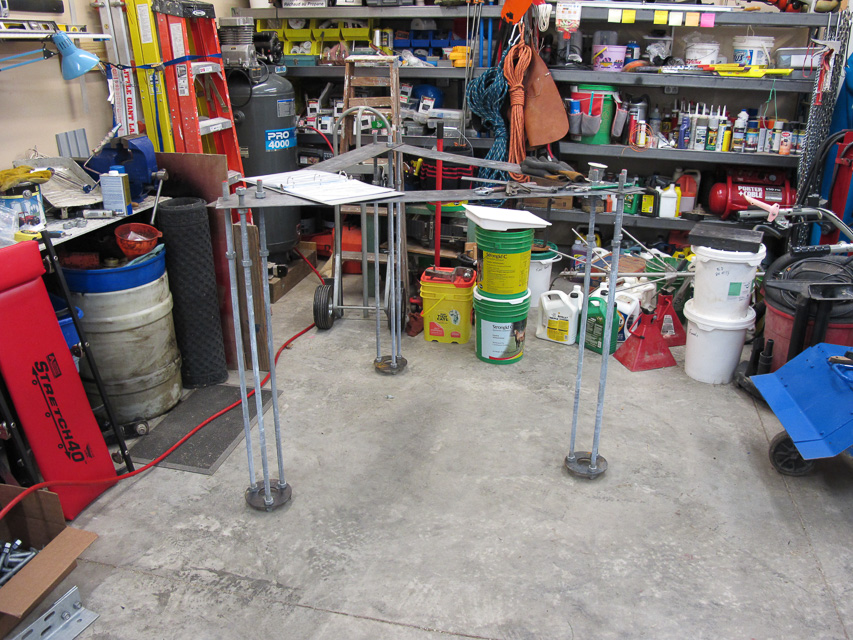
Rohn offers two bases for the RSL line, a short base which is not adjustable and a threaded rod system which is adjustable. I was advised not to use the non-adjustable as the name implies once set no adjustment for vertical can be made.
Simple to assemble, templates and everything you need other that basic hand tools are in the kit.
Excavation
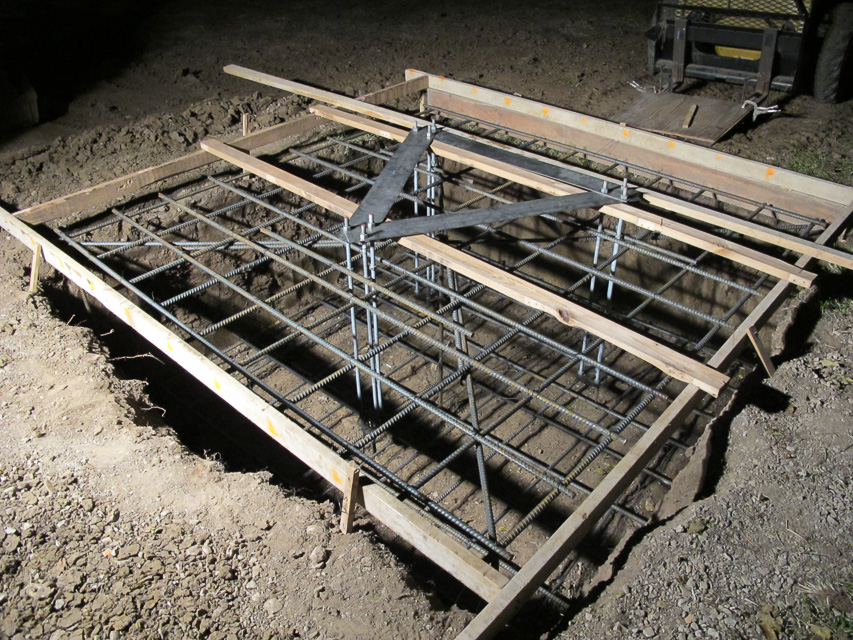
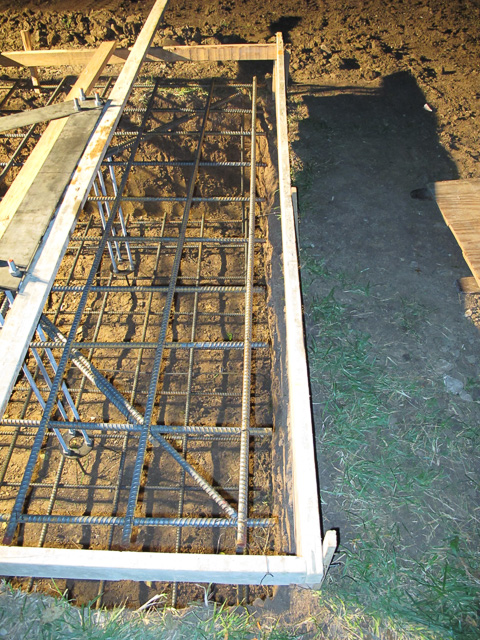
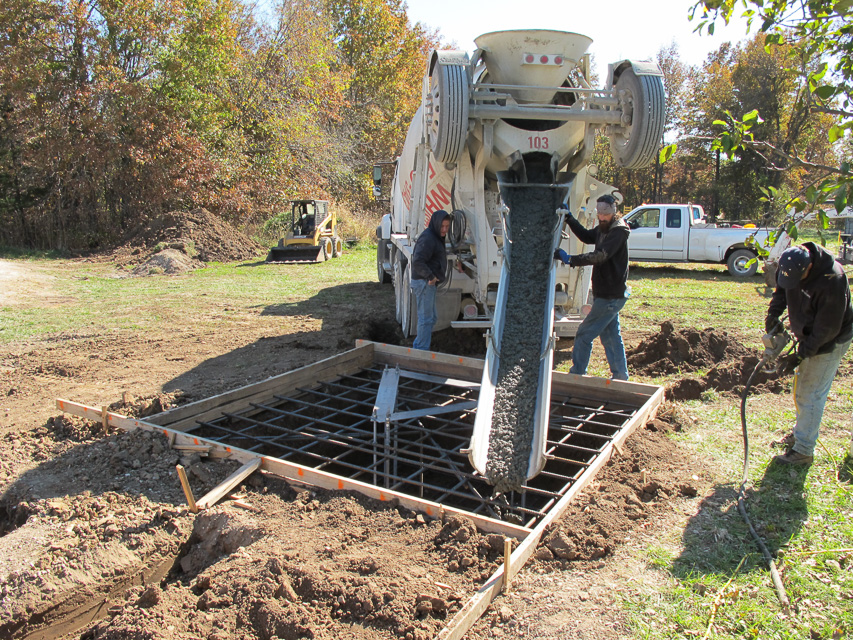
The plans call for a 10’x10’x4’4″ foundation filled with 16 yards of 4500psi mix. For reinforcing the design calls for two mats of number #7 rebar (7/8 inch diameter) spaced evenly in a grid pattern. One on the bottom and one on the top of the foundation. Each mat weighed in at right around 400lbs.

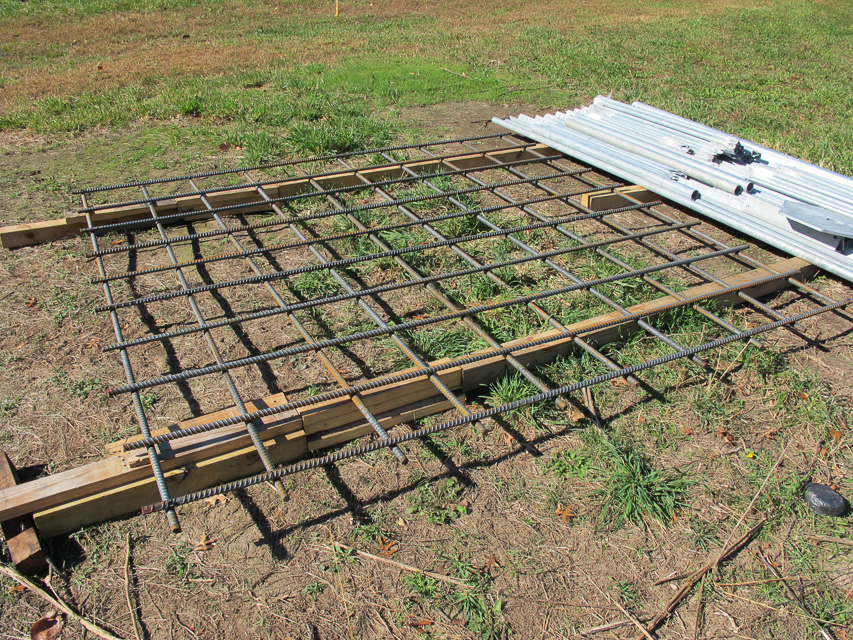

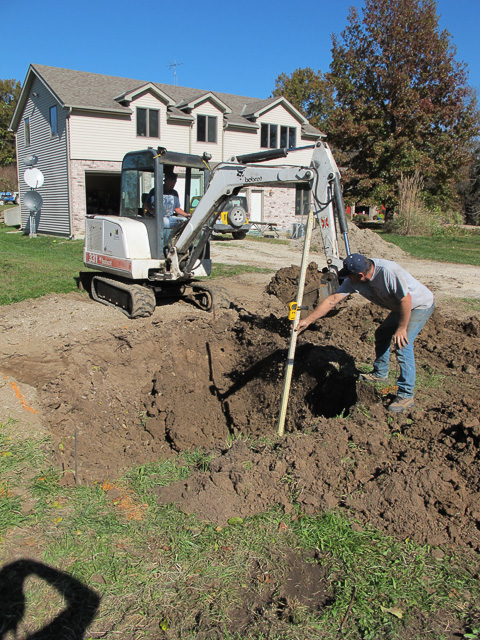
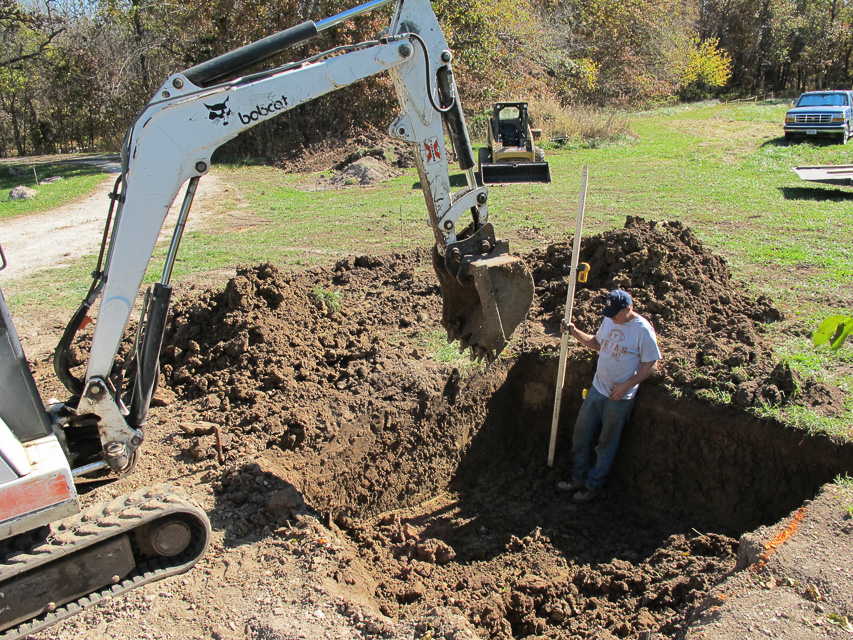
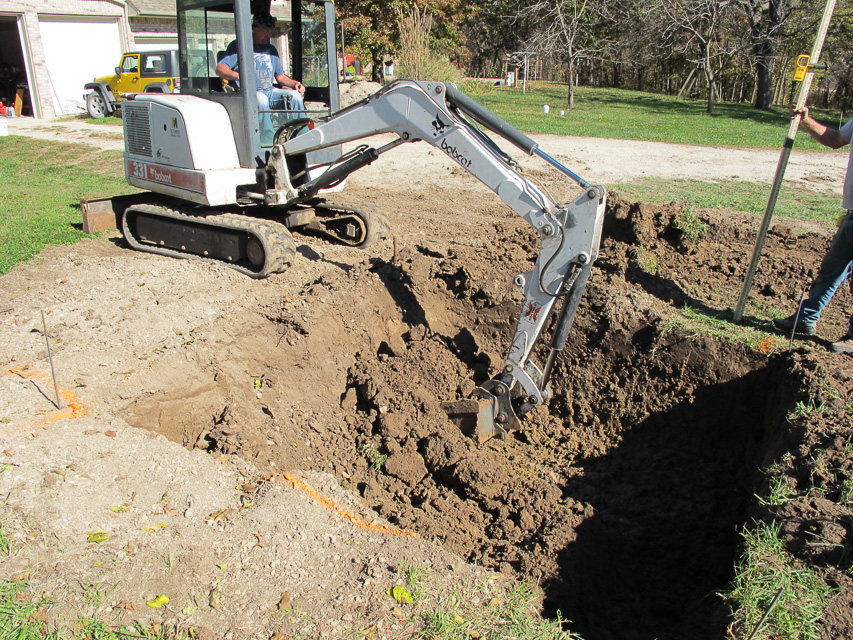

As it was Thursday and rain was coming on Monday, had to get it finished Thursday night for inspection in the morning. And a pour scheduled for just after noon.
It was a late night.

Pouring

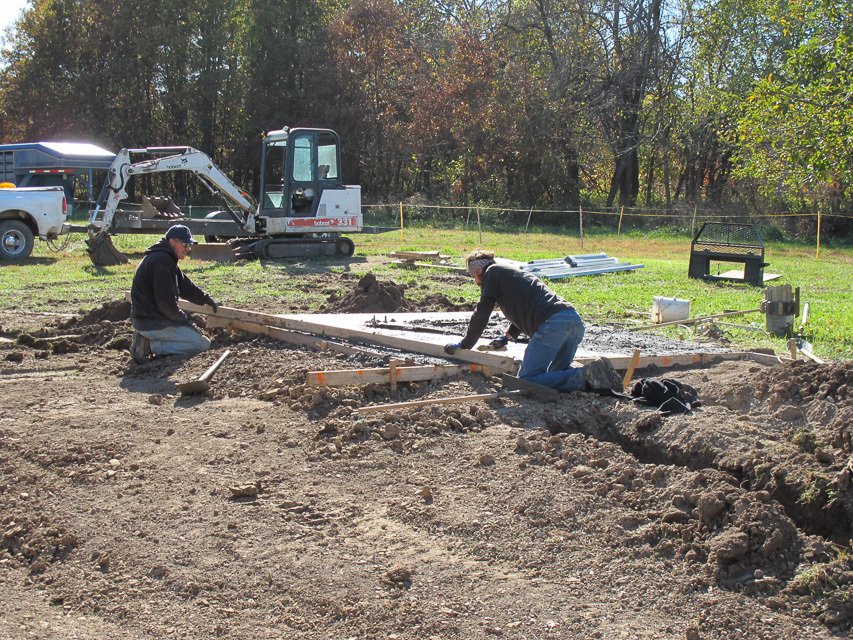
For strength a #4 slump was ordered, this is a dry mix close to mashed potatoes in consistency. It stays where it is poured and if allowed to pile up, it will push things around in the form . To prevent this the crew slowly dropped around the form and used a vibrator to spot reduce the viscosity. Which allowed the mix to flow around versus push around anchor rods and such.


Special Thanks
This project would not have been possible without the pro’s from Huber Construction. Special thanks to Mike Huber and his team for getting the job done on time and on budget.
Next
On deck next is completing the ground systems and feedline routing before the ground conditions deteriorate or the weather gets too cold to glue PVC.
Oh yeah and I still have this big erector set to assemble 😉
Until next time 73’s, Jay
Leave a Reply