
After buying my first Hotspot (a ZumSpot) I became enamored with the possibilities presented by Pi-Star. I have since experimented and have build several simplex and a duplex hotspots using components picked up from the local MicroCenter and Ebay MMDVM boards from the far east.
I found a lot of info on the logical setup of these devices and very little on the physical setup. The intent of this post is to provide a macro hardware level assembly view of the process as there is already a wealth of very fine content available on the net which details the logical aspects of the setup.
My go to bible has been an excellent post maintained by KE0FHS https://amateurradionotes.com/pi-star.htm
Over the holidays the local Microcenter had Raspberry Pi Zero’s on special for $5. I ordered a few MMDVM Hats on Ebay and using a tablet charger and USB cable I had, and a 32GB class 10 MicroSD card from an old smartphone I was all set.
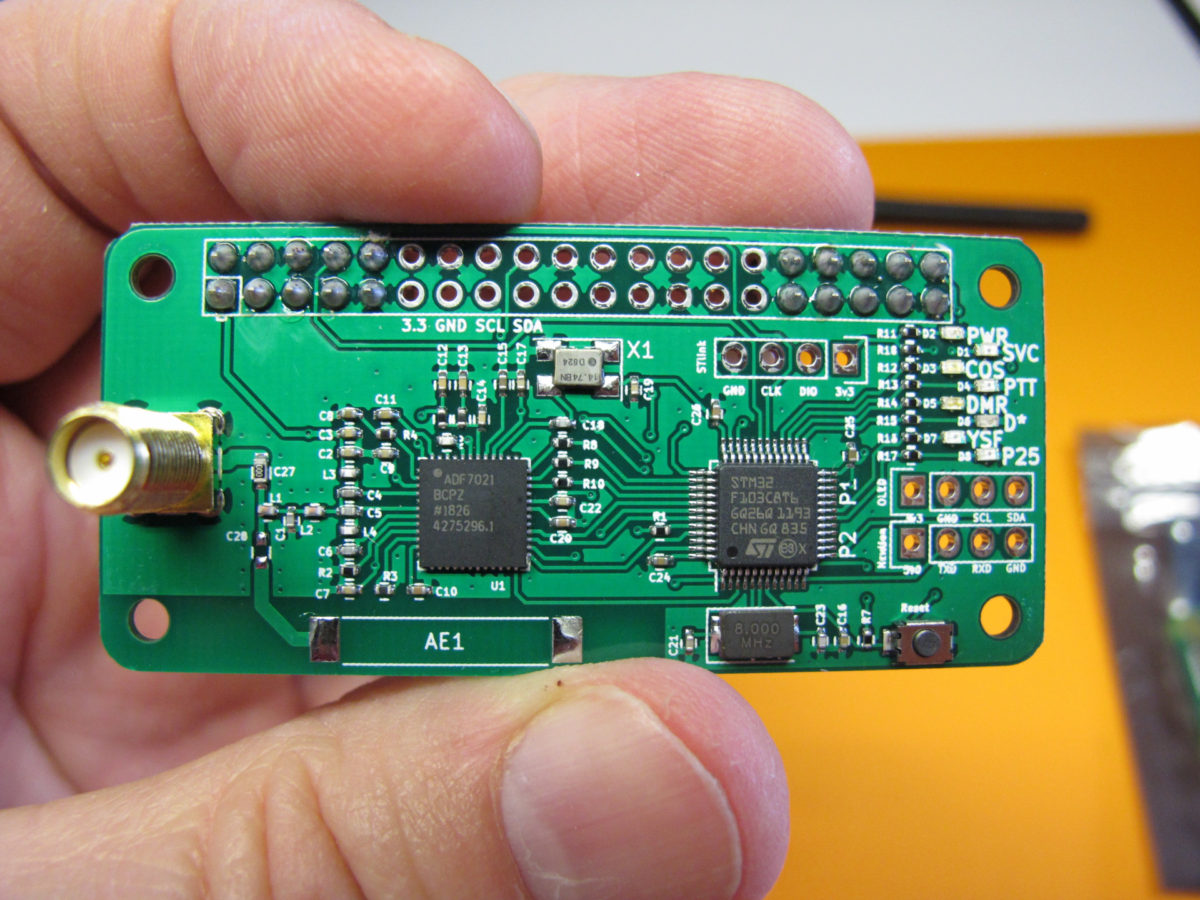
This build does require soldering, as shown in the below an antenna connector is needed on the MMDMV board and rows of header pins are needed on the Pi Zero.

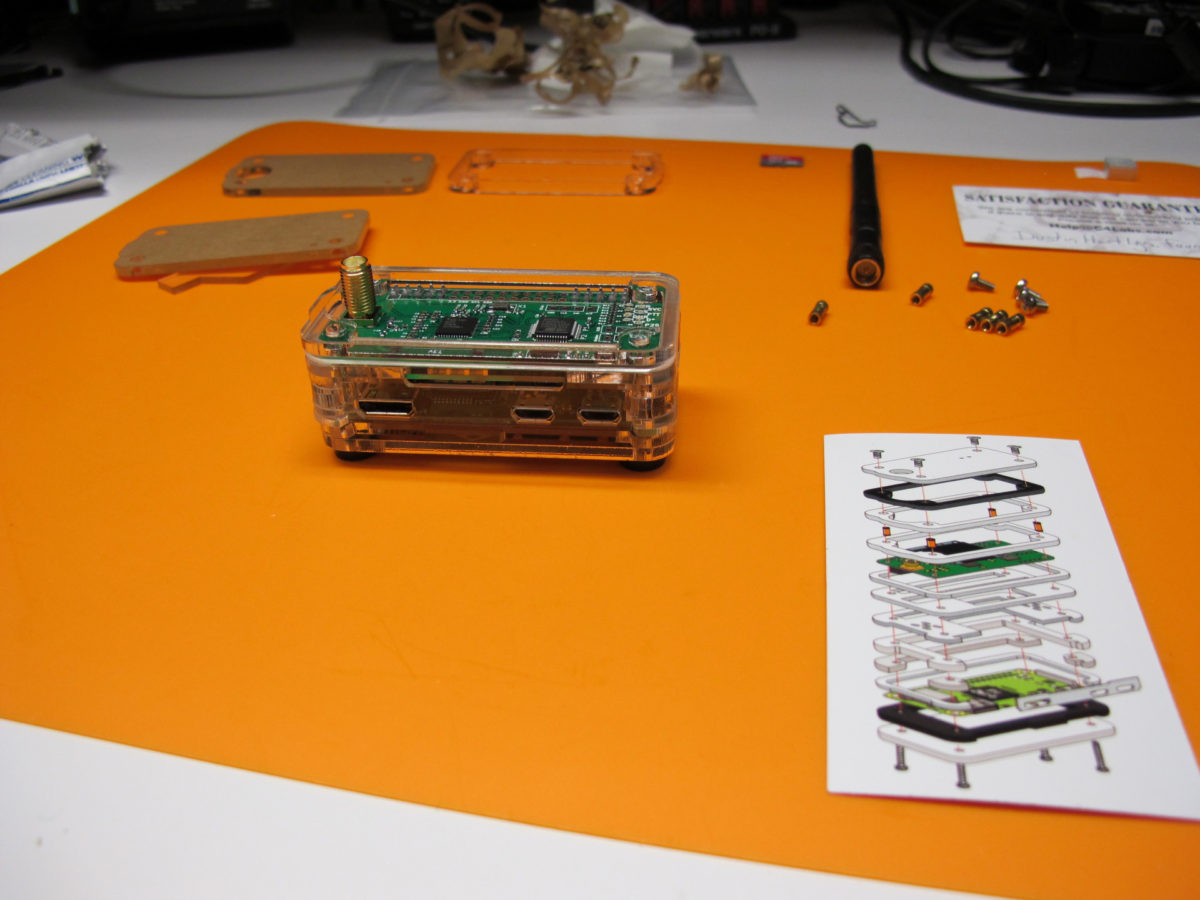
Antenna connector installed.
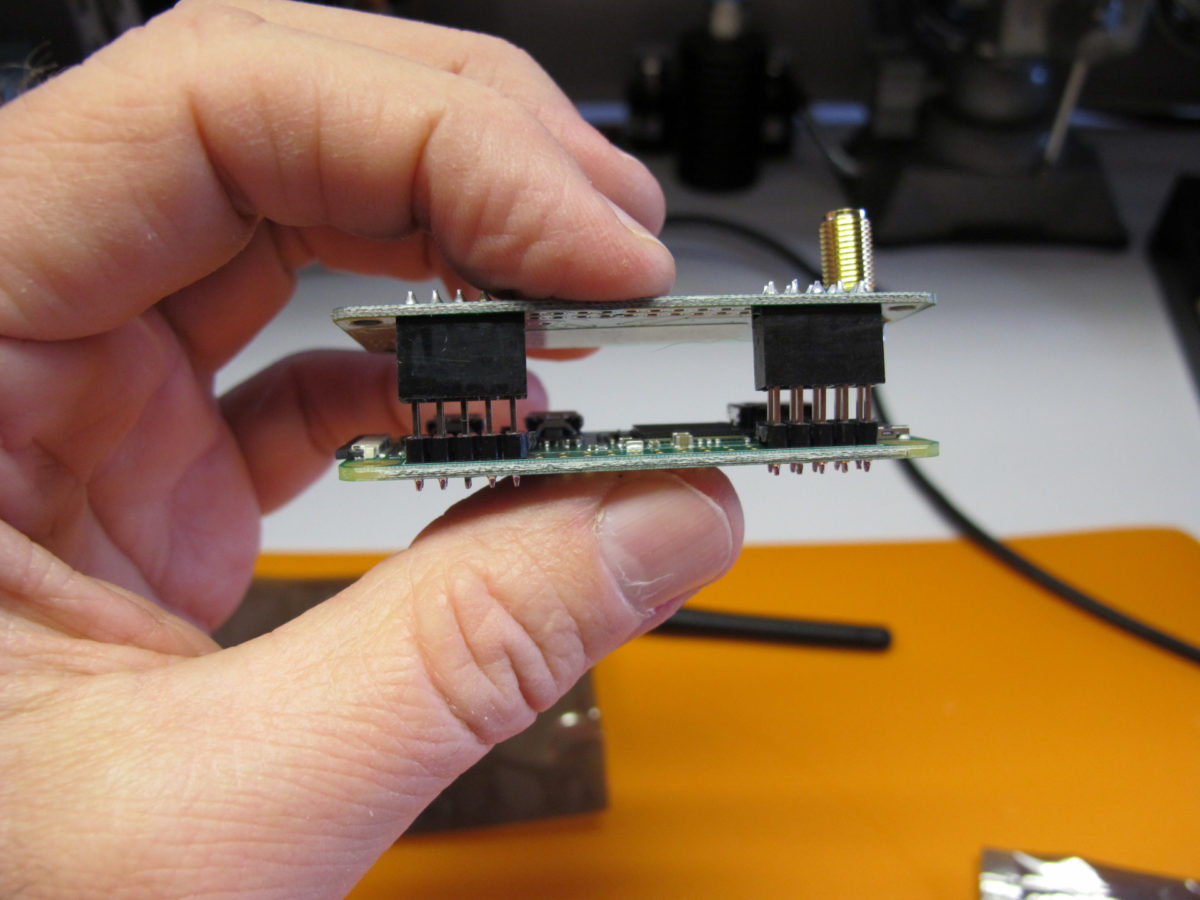
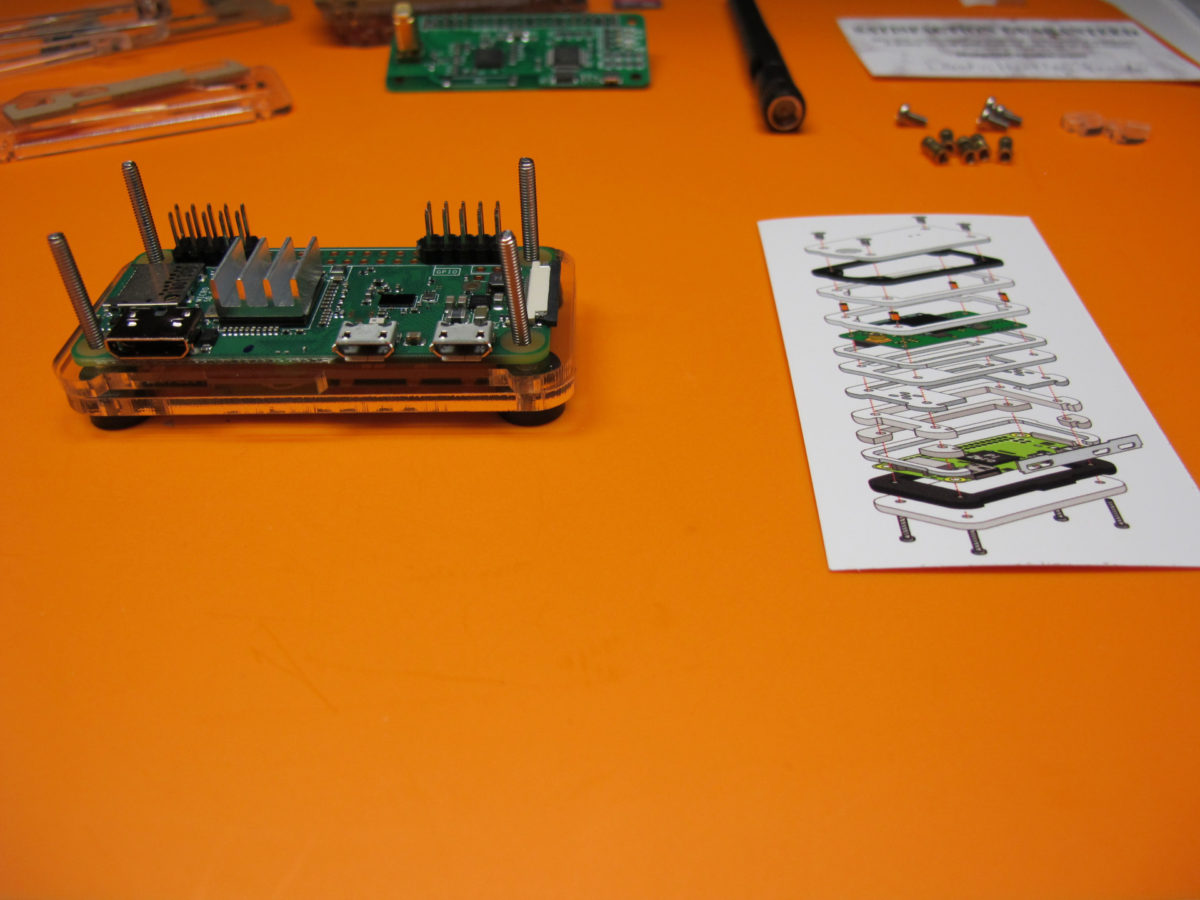
Once the header pins are soldered on the Pi, the MMDVM Hat is installed.
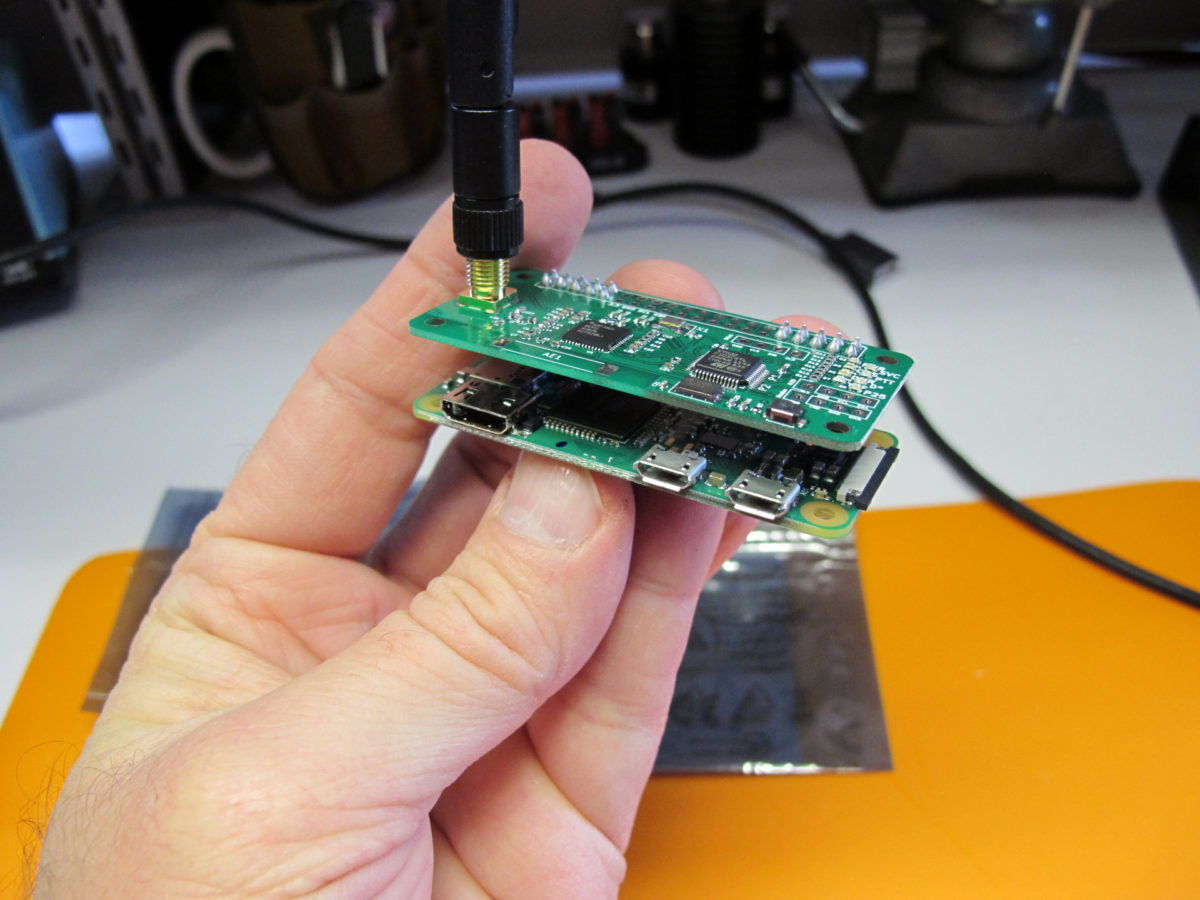
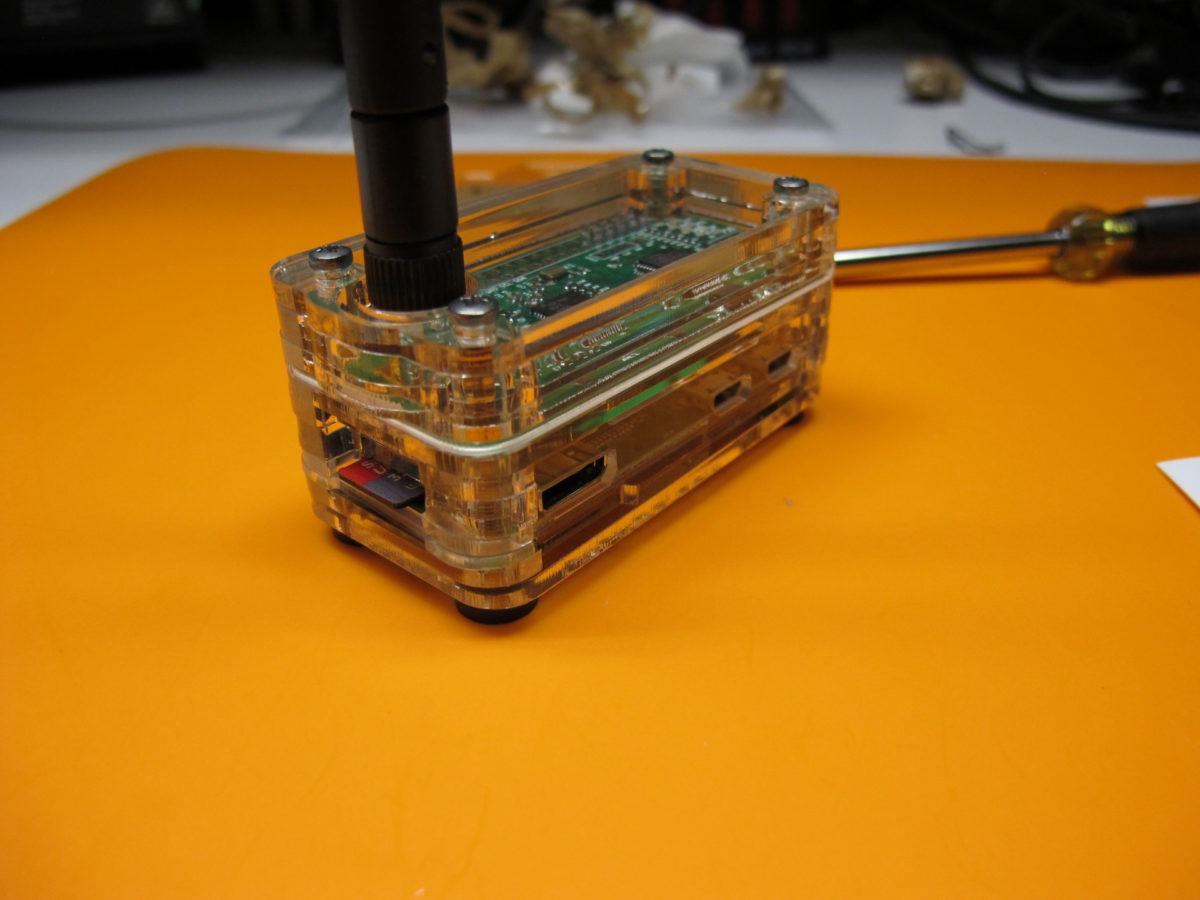
Antenna connected, MMDVM Hat installed and ready for the memory card and power to be applied.
At this point switch to the Pi-Star notes by KE0FHS
https://amateurradionotes.com/pi-star.htm
The basic checklist I follow is
- Download the lastest Pi-Star image
- Flash the image to your MicroSD card
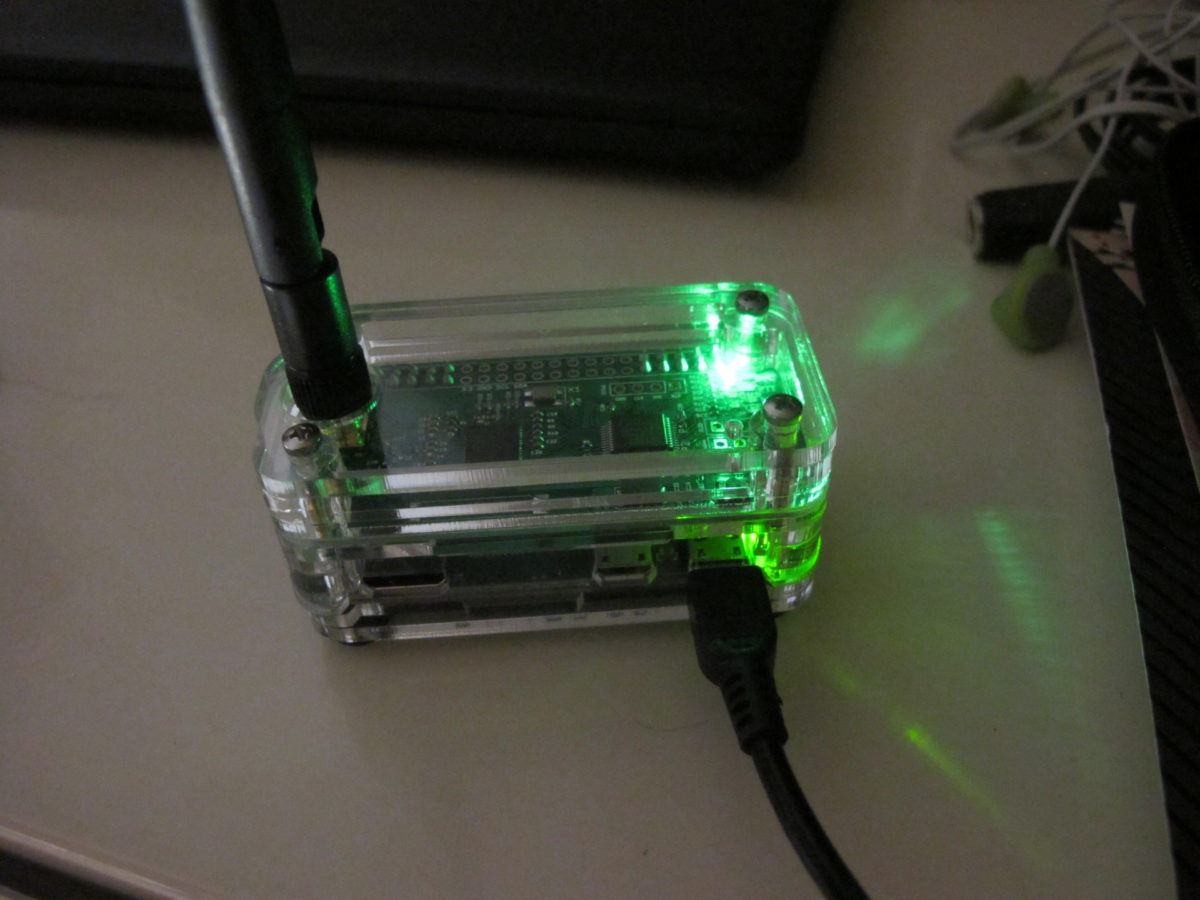
- Insert the card and power up
- Connect to the hotspot and configure the wireless settings.
Once the hotspot is on your home wireless network and you are able to reach the config screen. Using the guide below check the firmware and update as needed. All of the MMDVM’s I have purchased have needed a firmware update.
https://amateurradionotes.com/pi-star-firmware-updates.htm
Once the firmware is up to date, time to config for whatever modes you care to use. Once I get it running and let it run for a week or so to burn in, I put it in a case.
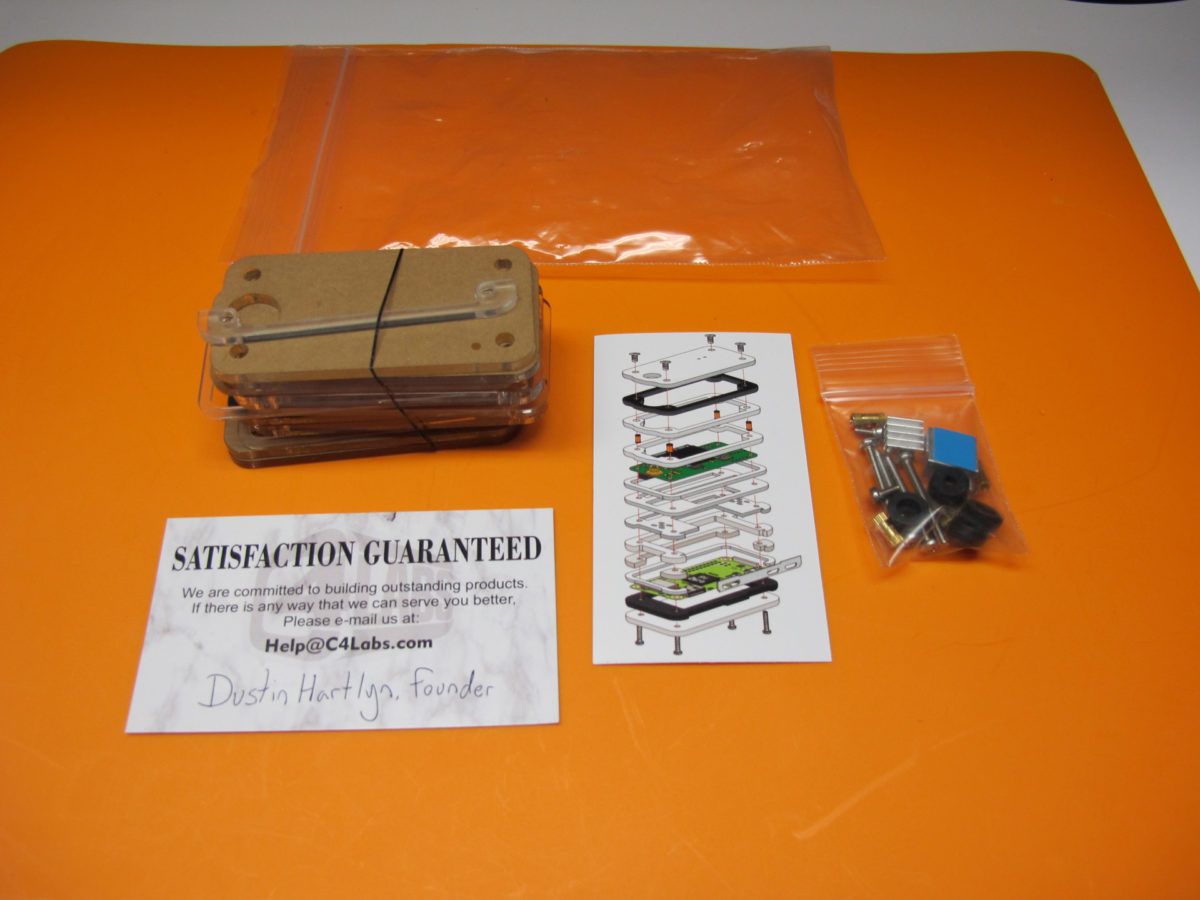
Case kit includes a heatsink for the processor on the Pi, cleaned off the processor with a isopropyl alcohol
Amazing job of documenting your project.
Thank you for sharing.
Jerry Dixon
KC0KW
This is the best documentation I have seen… Thanks
Thank you Ed